
2025.04.11 [金]
How to use the "VRM_PartsAdder" app.
You can easily attach parts in FBX or GLB file format to Vroid.
A useful free application is available on BOOTH.
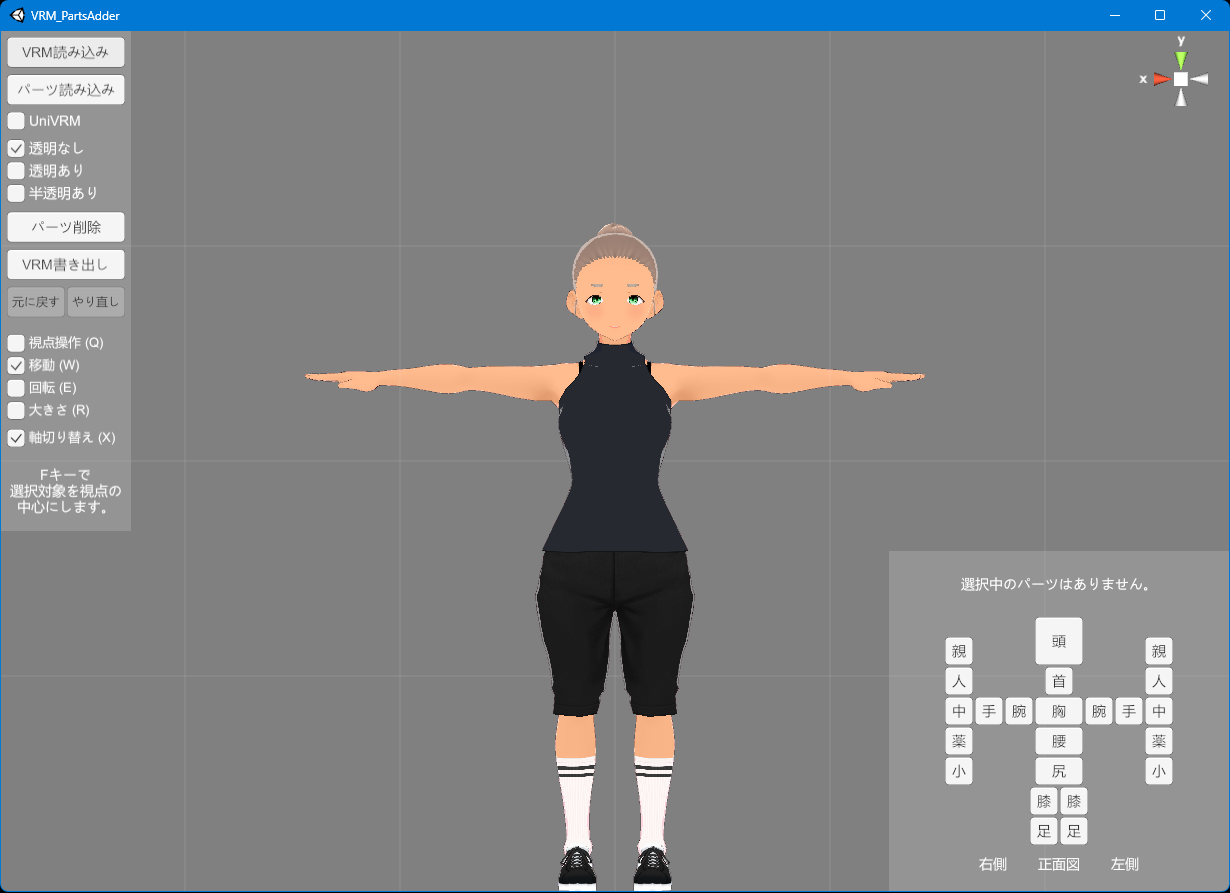
How to use the "VRM_PartsAdder" app.
VRM_PartsAdderの使い方
■VRMにパーツ付けるやつ/120byte
https://120byte.booth.pm/items/3765569
Procedure(English)
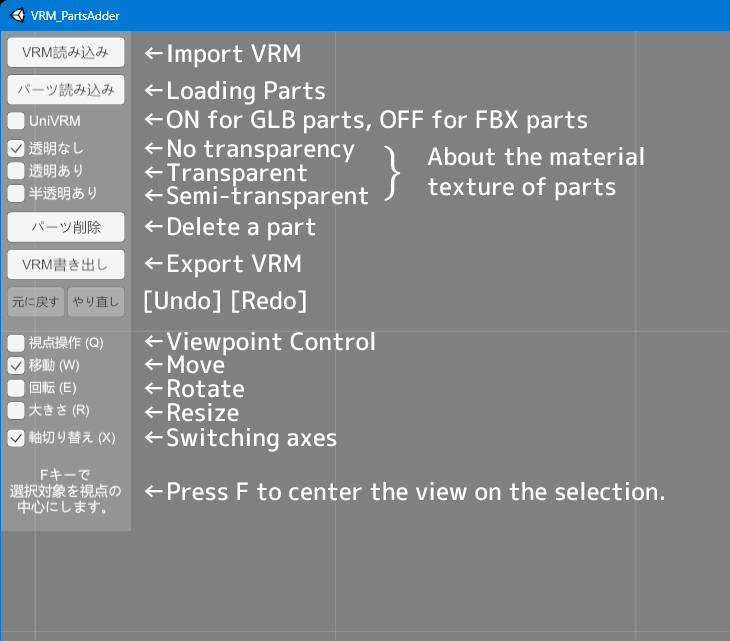
Click "Import VRM" to import the VRM.
※This app can use VRM0.0, but cannot use VRM1.0.
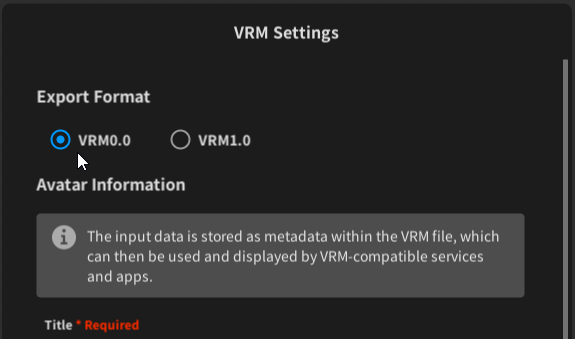
<VroidStudio>
If the part you are importing is "FBX"
- UniVRM NoCheck
- Check if the FBX uses transparent materials or textures.
- Click "Import parts" to import the FBX file.
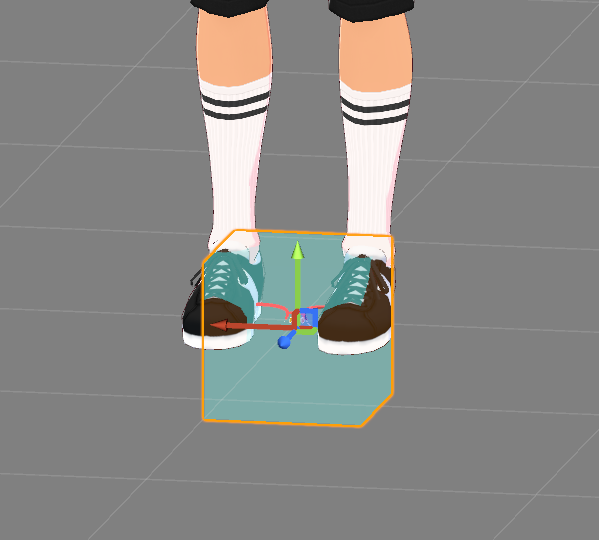
- The imported part will appear at the feet.
- Check "Move" and click the part to select it.
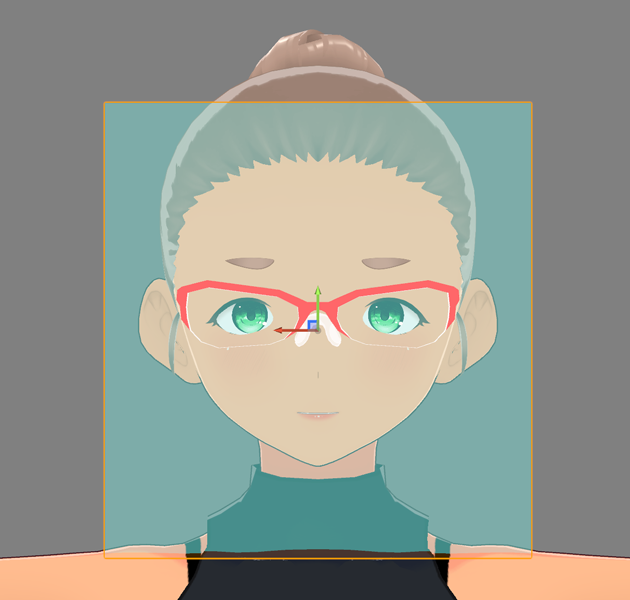
- Move the part to the position you want to wear it. Change the size or rotate it.
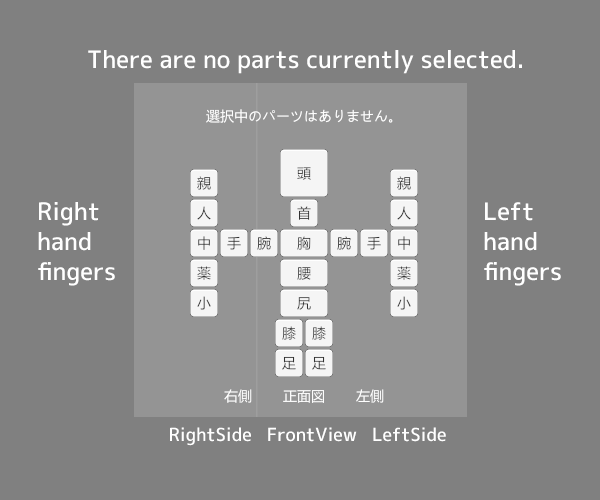
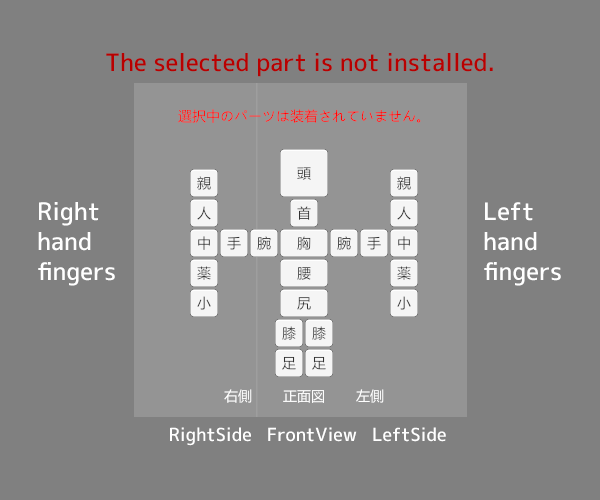
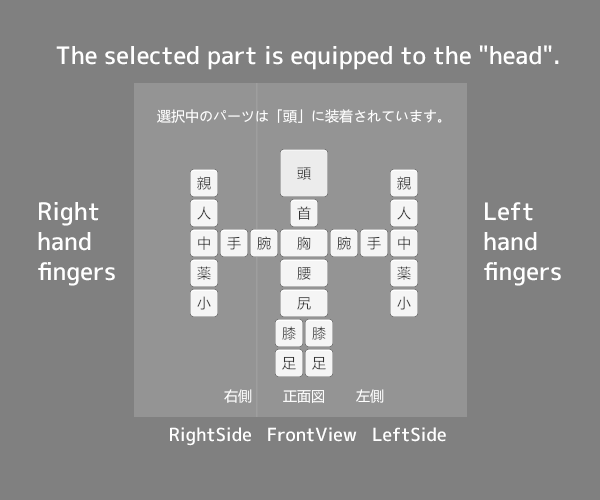
- Select the attachment location at the bottom right of the screen and click.
- "Export VRM"
If the part you are importing is "GLB"
- UniVRM Check
- Check if the GLB uses transparent materials or textures.
- Click "Import parts" to import the GLB file.
- The imported part will appear at the feet.
- Check "Move" and click the part to select it.
- Move the part to the position you want to wear it. You can change the size or rotate it.
- Select the attachment location at the bottom right of the screen and click.
- "Export VRM"
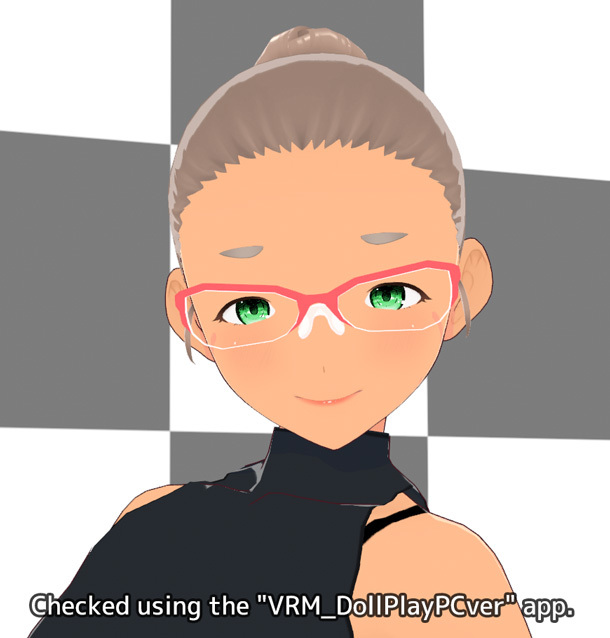
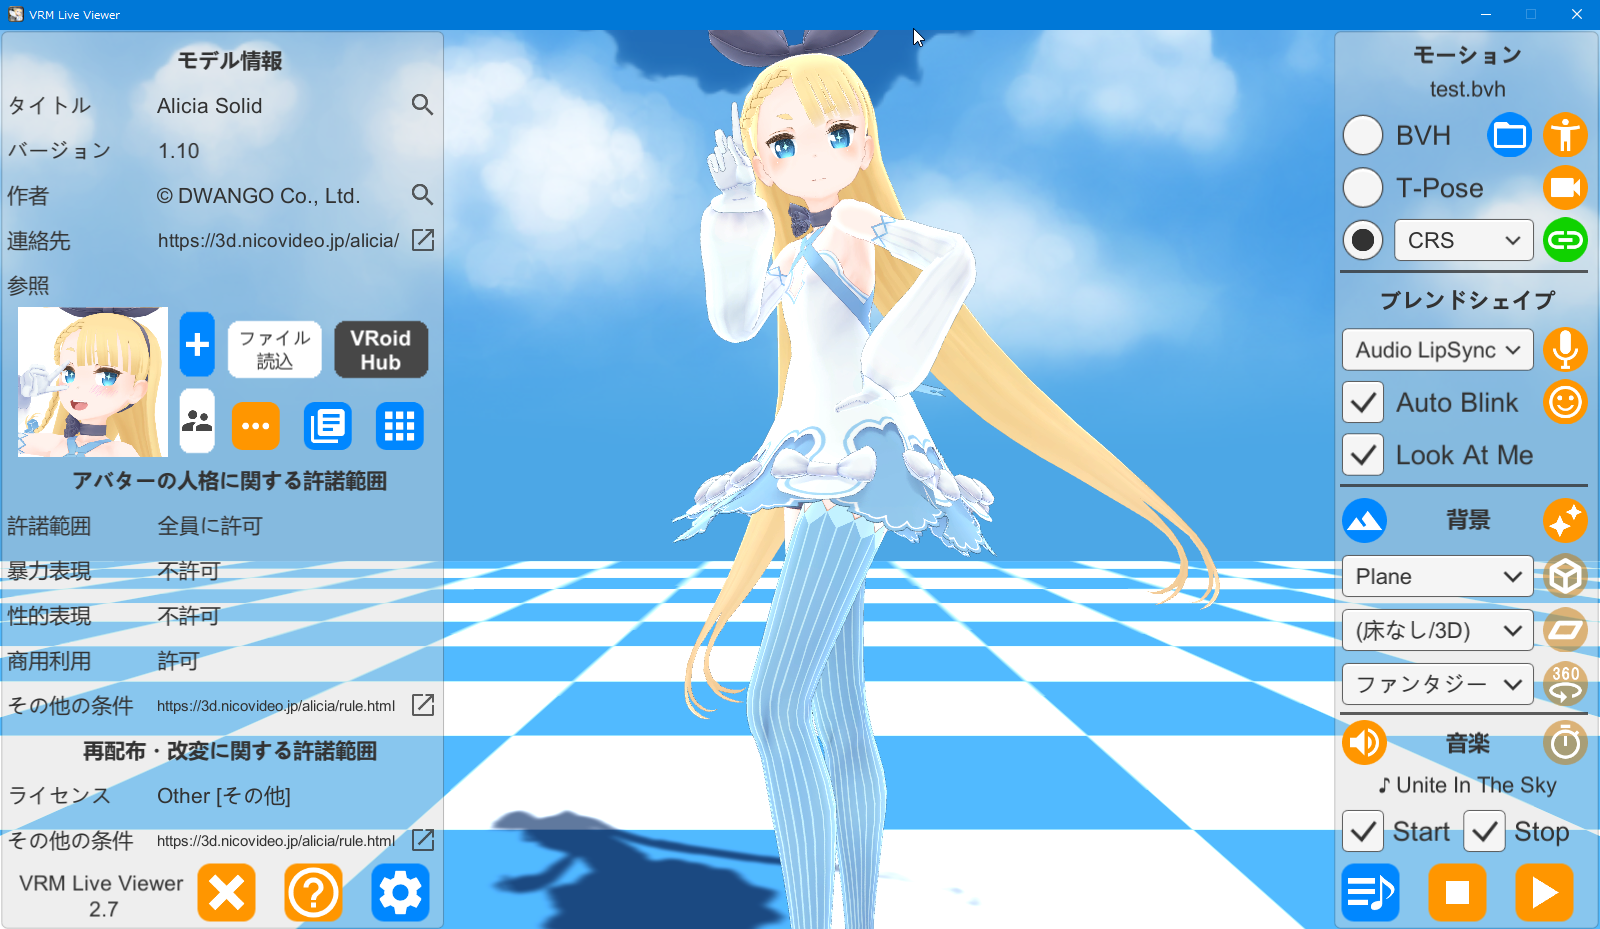
A free app I used to check my Vroid.
手順(日本語)
「Import VRM」をクリックし、VRMを読み込む。
※このアプリで使用できるのはVRM0.0です。VRM1.0は使えません。
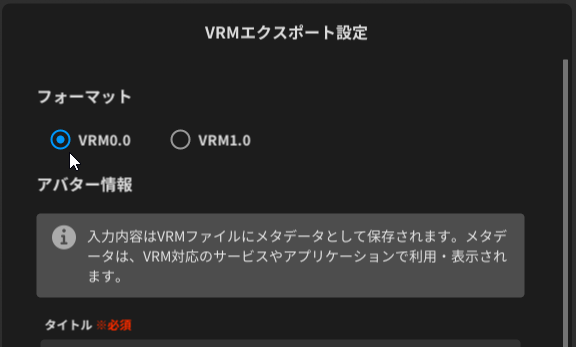
<VroidStudio>
読み込むパーツが「FBX」の場合
- UniVRM NoCheck
- FBXに透明の材質やテクスチャが使用されているかどうか、チェックを入れる。
- 「パーツを読み込む」をクリックし、FBXのパーツを読み込む。
- 読み込んだパーツが足元に現れる。
- 「移動」をチェックし、パーツをクリックして選択。
- 装着したい位置へパーツを移動させる。大きさを変更したり、回転させたり。
- 画面右下の装着箇所を選んでクリック。
- 「VRMを書き出す」
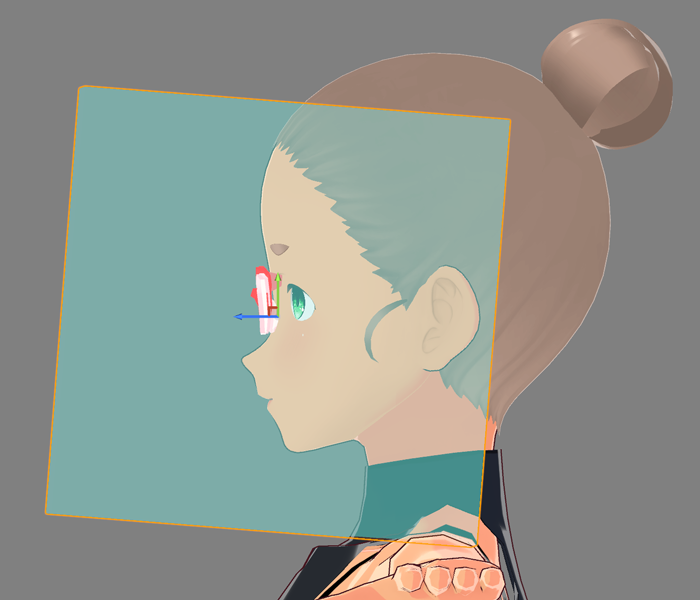
読み込むパーツが「GLB」の場合
- UniVRM Check
- GLBに透明の材質やテクスチャが使用されているかどうか、チェックを入れる。
- 「パーツを読み込む」をクリックし、GLBのパーツを読み込む。
- 読み込んだパーツが足元に現れる。
- 「移動」をチェックし、パーツをクリックして選択。
- 装着したい位置へパーツを移動させる。大きさを変更したり、回転させたり。
- 画面右下の装着箇所を選んでクリック。
- 「VRMを書き出す」
- 関連記事
-
 テクスチャの模様が表示されない、解決方法2022/04/06
 VRM Live Viewer の背景画像(360/2D)を作る方法2021/09/27